Wednesday, May 5, 2010

Home-Made Praline Ice-Cream

Yes, I make my own ice-cream!

It is relatively straightforward, but if you take your eye off it during the thickening process, you do risk curdling the mix. But your patience & observation will be rewarded: home-made ice-cream is so much better than the store bought stuff.

I am lucky enough to own an ice-cream maker, but you don't necessarily need one. If you use some electric beaters, and then pop in the freezer for 25 mins, then beat again, and repeat 3 or so more times, you will have a lovely creamy ice-cream. 

Ice-cream needs to be beaten to stop the water molecules turning into little ice-crystals; by beating the ice-cream you disperse the water molecules, stopping them from forming into crystals & have a lovely creamy consistency as a result.

This ice-cream is the one thing I know my friends would almost start swinging over to get their share (shout out Mama Nat! xx)

Anth's Praline Ice-Cream


For the Praline:

Preheat the oven to 180'c.

Place 1/3 cup blanched almonds on a baking tray lined
w/ non-stick baking paper & bake for 10 mins or until golden. 


Place 1/2 cup of caster sugar & 1/4 cup water in a
saucepan over low heat & stir until the sugar has dissolved. Do ensure that all the sugar dissolves, or you will end up w/ hard sugar crystals that are of no use to anyone.


Increase the heat and boil the mixture until a lovely golden colour:


Remove from the heat, allow the bubbles to sub-side & pour over the almonds.


When set, break into rough pieces, and then (to make it fine enough for ice-cream) blitz in a food processor until a fine-ish powder, though still with the occasional nice lump.

For the Ice-Cream:
1 cup full-cream milk
2 cups single (pouring) cream
1 vanilla bean, split & seeds scraped,
OR
1 tsp vanilla paste
6 egg yolks
2/3 cup caster sugar

Place the milk, cream & vanilla (whole bean & seeds, if that is what you are using) in a saucepan over medium hear & heat, stirring occasionally, until hot but not boiling. Remove from the heat & set aside.

Place the egg yolks & sugar in a bowl & whisk until thick & pale: this is an important step, so don't skip on the whisking! Remove the vanilla bean from the cream mixture (if used) and slowly pour over the egg yolks whisking continually to combine.

Pour the mixture back into the saucepan & stir over low heat for 4 minutes or until the mixture is thick & coats the back of a wooden spoon, so that when you drag your finger across the back, you easily leave a line. 

Set aside to cool, then cover in clingwrap & place into the fridge until cooled. 

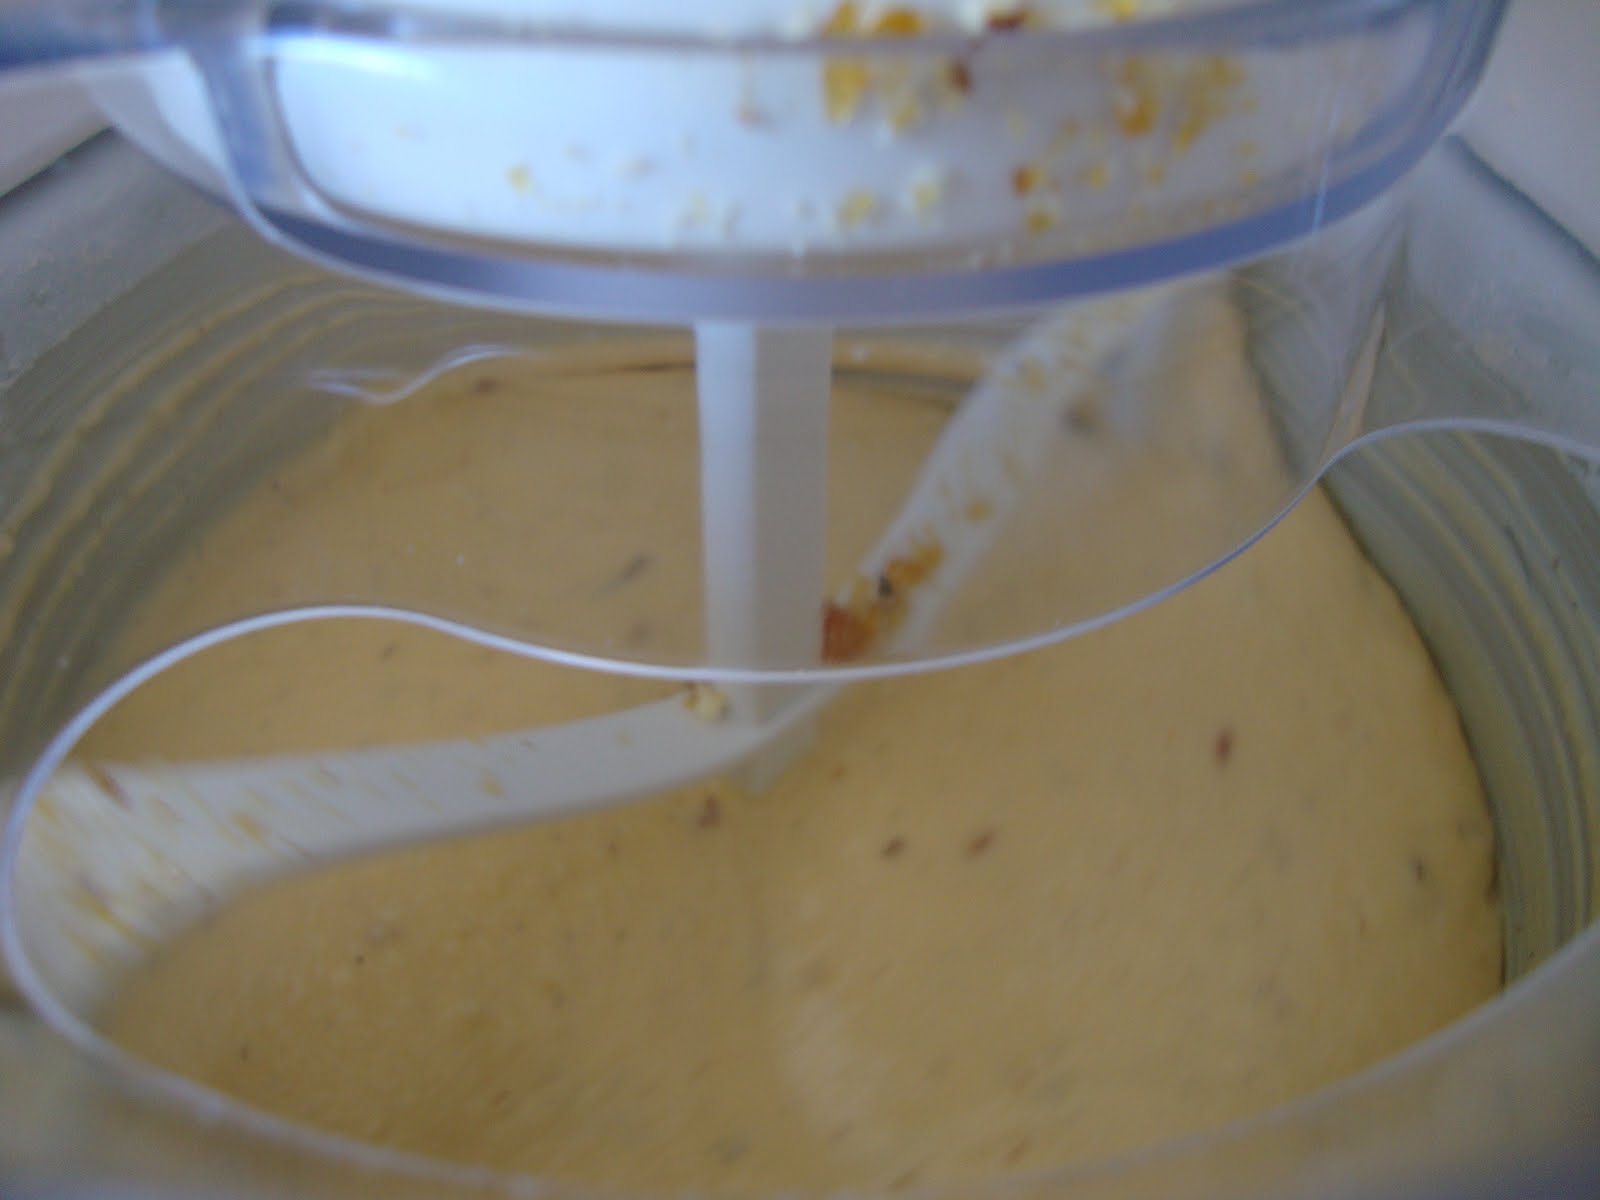
If using an ice-cream maker, pour the mixture in & churn. 

Once the mixture has hardened somewhat, pour in the praline powder & continue churning. 

If using beaters, pour into a large, strong plastic container, and beat for 2 mins before placing in the freezer. Pop into the freezer for an hour and a half or so, then take out and beat again; freeze for another 1.5 - 2 hours and add the praline now before beating a final time, then store in the freezer until ready to serve.  

Wine Match

Serve this with a dessert-glass of chilled butterscotch schnapps: delicious!

Tuesday, May 4, 2010

English Onion Soup

This is one of my favourite soups to make. The effort of cutting up nearly a kilo of onions is absolutely worth the effort.  This is not something you can just whip up & be eating inside of 20 mins for a quick supper. All told it takes about an hour (50 mins of that is onion cooking time, when you can potter about doing something else). The end result is fantastic.


This is derived from a Jamie Oliver recipe. I used to be a bit take-it-leave-it about Jamie Oliver. I never really got into the whole naked chef thing. But lately the recipe's of his I have tried have been just fantastic: straightforward & delicious. I have also been hugely impressed with his efforts to improve school children's lunches, as well as just generally raise nutritional awareness. 

Yes I love to cook, and I like good food. But I still am staggered at how 'unaware' people can be of what they put into their bodies. Fruit, veg, protein, wholemeal grains. I mean come on: its only hard to remember if you don't want to remember it . . . . Maybe like walking from your car is hard so you drive through Maccas to collect your dinner instead. Oy.

But all this is beside the point: this 'English Onion Soup'.

I just love this soup: it is hearty, warming and just so delicious & I think my friends really enjoyed it. The cheesy toasts just complete it: they work so well, though if I were warming a bowl for just me at home I might not bother with this step unless I really felt like it. It would probably work w/ Parmesan cheese too, though maybe omit the Worcestershire sauce if you were doing this.

I used a smoked vintage cheddar for this that I purchased at Harris Farm: it was around $7 - $8 for a block large enough to yield enough grated goodness to amply cover 10 toasts. I think the smokey-ness of the cheese gives it a great flavour, but obviously totally up to you. I wouldn't use Coon, or Bega for this: I think it would be too stringy, or plasticy, when you tried to melt it.

Apparently the trick to cutting onions is to have a knife as sharp as possible, which means there is less 'tearing' of the onion, meaning the tear-fumes won't torn & released. Or something like that. I find a snorkel/goggle combo works a treat, but perhaps that is taking things to extremes.

English Onion Soup

A good knob of butter
olive oil
a big handful of sage leaves
6 cloves of garlic, crushed
Onions - as many different ones as you can, peeled & sliced e.g:
---
5 red onions
3 white onions
3 eshallots
---
300g leeks, trimmed, washed & sliced
2ltr good stock (any 'flavour' you like - beef works well, but then they all do!)
8 slices good-quality bread; a little stale, or I just grab some straight from the freezer 
200g cheddar cheese, grated
Worcestershire Sauce


1) Put the butter, 2 glugs of the olive oil, sage & garlic into a heavy pan. 

Now I always screw up this step as I inevitably slice the garlic, pop into a mixing bowl, then slice the onions & put them on top as I go.  I then realise my mistake when I get to the cooking part. I once upended the bowl ,but fishing slivers of garlic out of a 1kg of sliced onions is a tedious task, and one I abandoned after less than 30 seconds.  If you make a similar mistake, don't worry, I just omitted the sage from the first step, and dumped the garlic & onions together into the pot.

2) Stir everything around & add the onions, eshallots & leeks. Season w/ S&P, place lid on pot, slightly ajar, and cook slowly for 50 minutes. You don't want to colour the veg too much, so keep the heat on the very low end of medium (or the just medium end of low). Remove the lid for the last 20 minutes, the onions should be soft & golden. Stir occasionally so none of them have caught on the bottom of the pan. I know this is a long process, but your patience will be rewarded (Shout-Out: Ali!! xx).


3) When the onion & leeks are lovely & silky, add the stock, stirring well again to make sure the onions have been lifted from the bottom & mixed through the liquid. Bring to the boil, then turn down the heat & simmer for 10-15mins.


4) Turn your grill on (if yours has a temperature option, you want it on max. My grill is an on/off only affair). Toast bread on both sides (in a toaster), then pop onto a baking sheet lined w/ alfoil & lightly sprayed w/ olive oil. Pile a mound of the grated cheese onto each toast, sprinkle over the Worcestershire Sauce, and pop under the grill.


5) Making sure you are monitoring the grill process carefully, ladle the soup into bowls. Once the cheese has nicely melted & is bubbling a little, remove from under the grill, place one toast into each bowl, and serve.

(Sorry! Was so busy devouring my soup I forgot to take a photo of the finished product!)

Wine Match!


I served this with a couple of bottles (hey, there were 8 of us!) of a lovely Reisling from a vineyard in Orange called Mayfield. The lovely flavours of the wine, which has a slight oakey-ness (of which I am not usually a fan) paired perfectly with the soup.


Monday, May 3, 2010

Chocolate Dessert that DID turn out!


This, I am proud to say, is something I made!

To quote my friend Mikarla, it "looks like a chocolate bathtub!"
This, obviously, is a very chocolatey chocolate tart, and it was delicious. Not overwhelmingly chocolatey, but still rich & lovely, and very, very smooth.

I find tarts make a great dessert, because you can do so much of it ahead of time, reducing one's stress in the hour or so before guests arrive. They also look impressive . . . yes, I have an ego, who knew! The first couple I ever made were a little hit & miss, but I have started to develop a knack for them, and pies. My pastry making is developing nicely.

Pastry-Making Tips:Gluten is the enemy of good pastry

1) Care must be taken to blend the butter (or whatever fat agent you are using) & the flour together before adding any liquid. This ensures the flour granules are sufficiently coated with fat to inhibit water absorption, making it less likely for the gluten to develop.

2) On the other hand, overmixing releases the gluten, allowing them to create long strands that toughen the pastry. Always pulse in the food processor till the mix resembles breadcrumbs, and then stop!

3) Chill the pastry in the fridge. If the fat melts before it reaches a high enough temperature (e.g. before it goes into an oven of 180'c) you won't get a lovely leavened (crumbly) pastry: when the fat melts the water in it separates & the layers in the mix will all stick together, creating, in other words, tough pastry.

4) Chilling the pastry also allows the gluten's to relax, which means that your pastry shouldn't shrink (too much) when you bake it.

5) I find the best shape to chill the pastry in is a flattened disk. I have seen some recipes that say 'roll into a ball & chill'. I find the ball shape very hard to roll out: it has a tendency to crack, meaning I have to mush the whole thing back together, which means the pastry is getting worked more than ideal, potentially leading to tougher pastry. You don't want something like a fist. You want something like the open palm of your hand.


Anth's Chocolate "Bathtub" Tart


Chocolate Pastry Shell
200gm plain flour
60gm icing sugar, sifter
30gm good quality cocoa powder, sifted
100gm cold butter, coarsely chopped
2 egg yolks
enough iced water to form a ball (if necessary - depending on the eggs you may not need to add any)

Creamy Chocolate Filling
300ml pouring cream
300gm chocolate chopped
100gm chocolate, min 60% cocoa, chopped

1) For chocolate pastry, process flour, icing sugar and cocoa in a food processor until combined. Add butter, process until mixture resembles fine crumbs, then add egg yolks, process to combine. Add iced water if needs be, a little at a time. Turn onto a lightly floured work surface and bring pastry together with the heel of your hand. Wrap in plastic wrap, refrigerate for 1 hour to rest.

2) Preheat oven to 180c. Roll out pastry on a lightly floured surface to 3mm thick and line a 28cm-diameter loose-bottomed tart tin, trimming edges if you prefer; as you can see from the pictures, I prefer a more rustic look. Refrigerate for 1 hour, then blind bake for 8-10 minutes, remove paper and weights (either baking weights, or dried pulses, or rice works as well) and bake until dry and crisp (8-10 minutes).

3) Bring cream to the simmer in a small saucepan over medium heat, add chocolate, stir until smooth, remove from heat, allow to cool a little, then chill in the fridge w/ a clean tea-towel over the top (clingwrap will collect the condensation, which could drop back onto the chocolate. Chocolate + water don't mix). Once cooled, but still just runny, pour into the pasty shell & then return to the fridge to set.


And now for a 'Low'


This is not a picture of anything I have created.


Phamish

Shout Out to Alex & Patrice!

So I don't do restaurant reviews on here, but maybe will start with some anecdotes about the places I have tried around the traps.

I had dinner at Phamish on Friday night.


Sunday, May 2, 2010

All Gone = Success!

How to feed a crowd of people . . . . Sri Lankan Chicken Curry Recipe

Now, please don't think I am obsessed about Rick Stein: it is a coincidence that both of the dishes I cooked are his recipes, but also indicates how wonderful his dishes are!

I know I said this about the meatball recipe, but I think this is one of the dishes I am proudest of: its flavours are just wonderful.